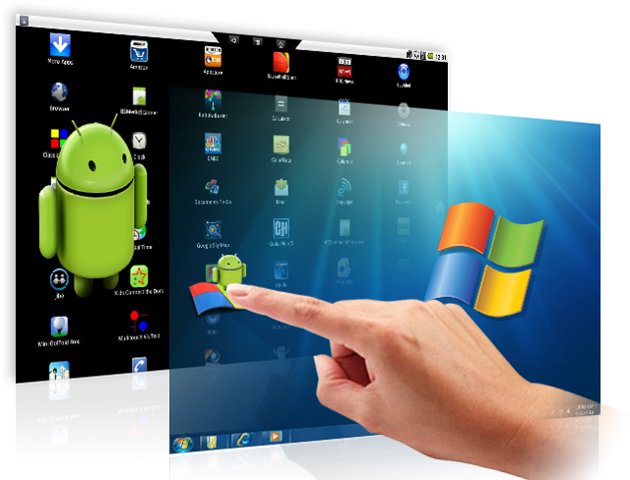
Run Android Apps to a Windows PC
Advanced micro Device (AMD) and blue Stack have teamed up to let consumers run android apps on their AMD powered PCs. Blue stacks, creator of a windows app that enables you to run android apps on windows, has joined focus with AMD to bring their cross platform application to AMD powered tablets and pc’s. The two companies have teamed up to bring 500000mobile android apps to windows pcs through the amd apps zone player starting.
Blue stacks cross platform innovation bridges the android and x86 application ecosystem providing new opportunities for developers and better experience for users.
Blue stack is an amd venture backed software company that enables android apps to run on notebooks, desktops , all in one pcs slates and tablets.
Blue stacks was founded in 2009 by Rose Sharma is privately held and head quarted in silicon valley wit global office in India Taiwan and Japan.
You can now run any android to you PC with this simple Windows Software.

Run Popular Android apps Like
1) Temple Run
2) Subway Surf
3) WeChat
4) Angry Bird
5) Mxplayer
Advanced micro Device (AMD) and blue Stack have teamed up to let consumers run android apps on their AMD powered PCs. Blue stacks, creator of a windows app that enables you to run android apps on windows, has joined focus with AMD to bring their cross platform application to AMD powered tablets and pc’s. The two companies have teamed up to bring 500000mobile android apps to windows pcs through the amd apps zone player starting.
Blue stacks cross platform innovation bridges the android and x86 application ecosystem providing new opportunities for developers and better experience for users.
Blue stack is an amd venture backed software company that enables android apps to run on notebooks, desktops , all in one pcs slates and tablets.
Blue stacks was founded in 2009 by Rose Sharma is privately held and head quarted in silicon valley wit global office in India Taiwan and Japan.
You can now run any android to you PC with this simple Windows Software.

Run Popular Android apps Like
1) Temple Run
2) Subway Surf
3) WeChat
4) Angry Bird
5) Mxplayer


.jpg)


